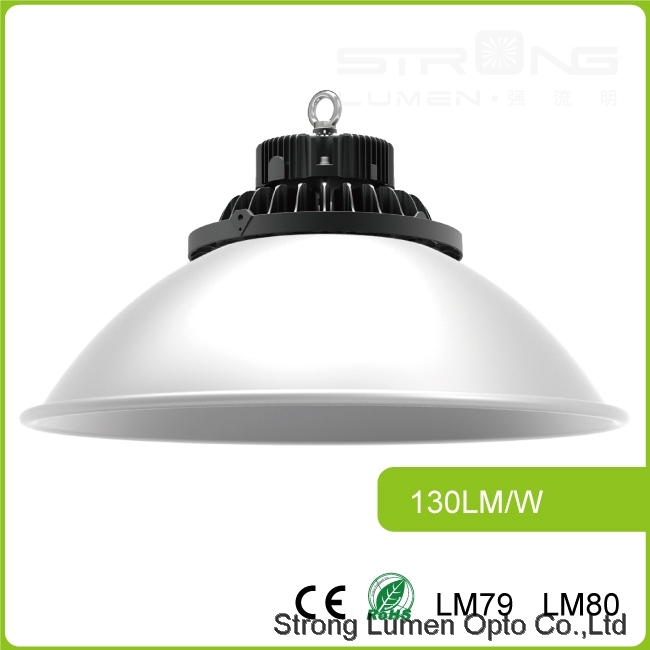
UFO01 LED High Bay Light
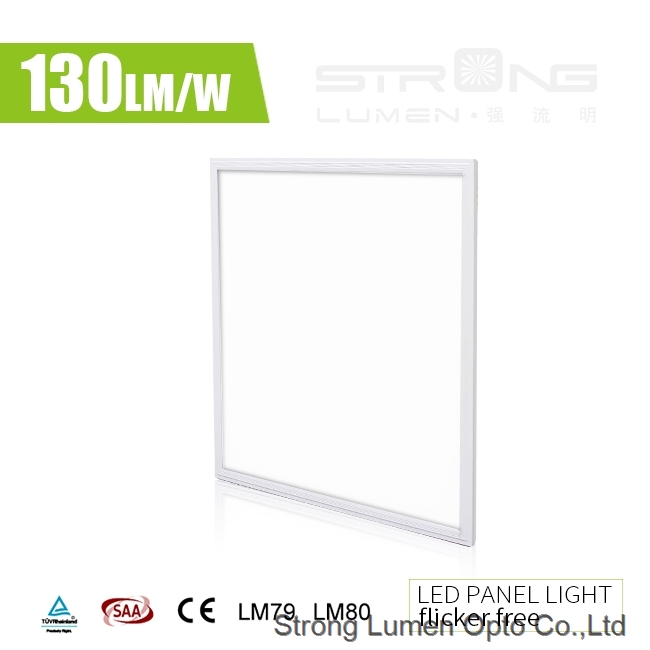
LED Panel light PLE6262
MOQ :200 piece
Lead Time :8 Days
Seller Support : Trade Authenticity Guaranteed & Accepting
Payment : L/C,T/T,Western Union, Money Gram, Credit Card, Paypal
Product details
Product Specifications
- Brand name:Strong Lumen
- Light Source:LED
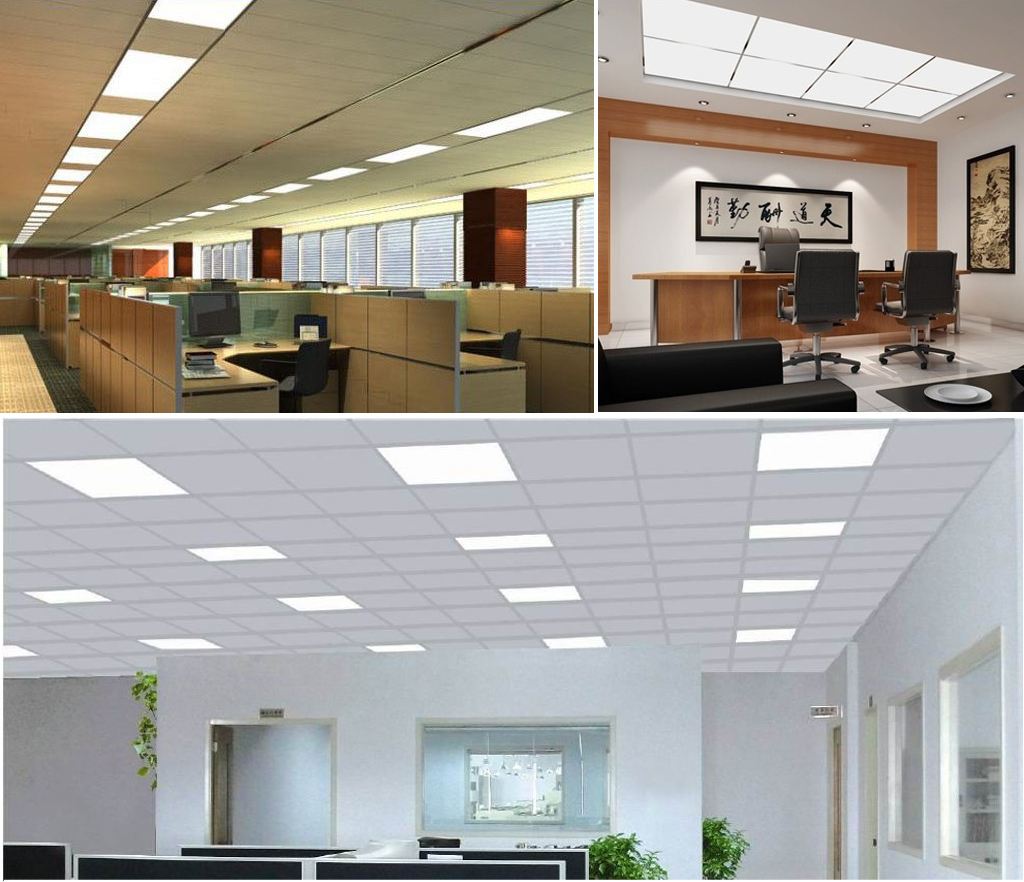
Product Description
PLE6060 LED Panel Details
Performance Parameters
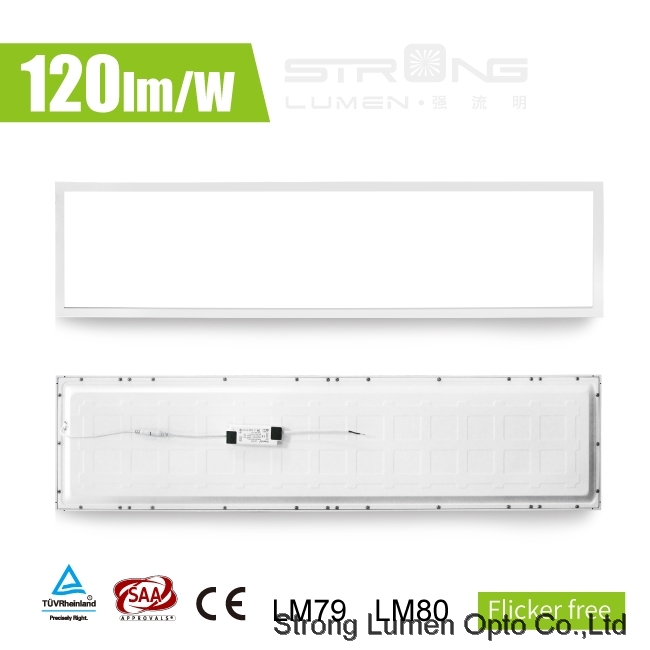
● Luminance Efficacy: Frosted Cover:100lm/w. 120lm/w. 130lm/w.
● Input Voltage:AC185-265V
● Power Consumption: 27W 36W
● Color Temperature: 3000K± 200K 4000K± 250K 5000K± 300K 6000K± 400K
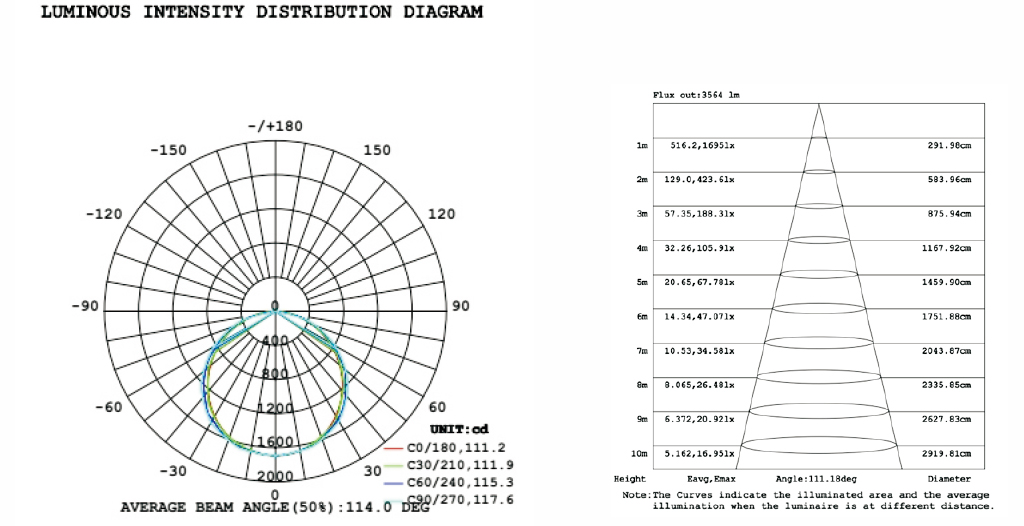
● Beam Angle: 120°
● Operation Temperature: -10~40℃
● Storage Temperature :-20℃ to +85℃
● LED Type:2835 LED,4014LED
● Lifespan: >50,000hours
● Driver Type: Isolation Driver
● IP Code : IP20
● IK Code : IK01
● Operating Humidity : 10-80%
Product Model
Model No.
Power
Efficacy
Luminous Flux
Led Type
Led Quantity
CRI
SL- PLE626227 27W 100LM/W >2700LM 2835/4014 192PCS >80 120LM/W >3240LM 2835/4014 192PCS >80 130LM/W >3510LM 2835/4014 192PCS >80 SL-PLE626236 36W 100LM/W >3600LM 2835/4014 238PCS >80 120LM/W >4320LM 2835/4014 238PCS >80 130LM/W >4680LM 2835/4014 238PCS >80 Drawing of Products
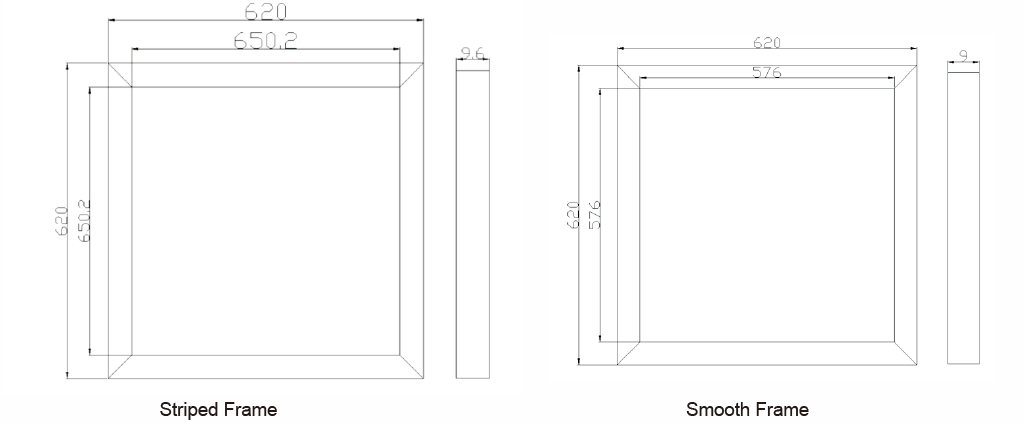
1. All dimensions are in millimeters.
2. The tolerance for all dimensions is ± 0.5mm, unless otherwise specified.
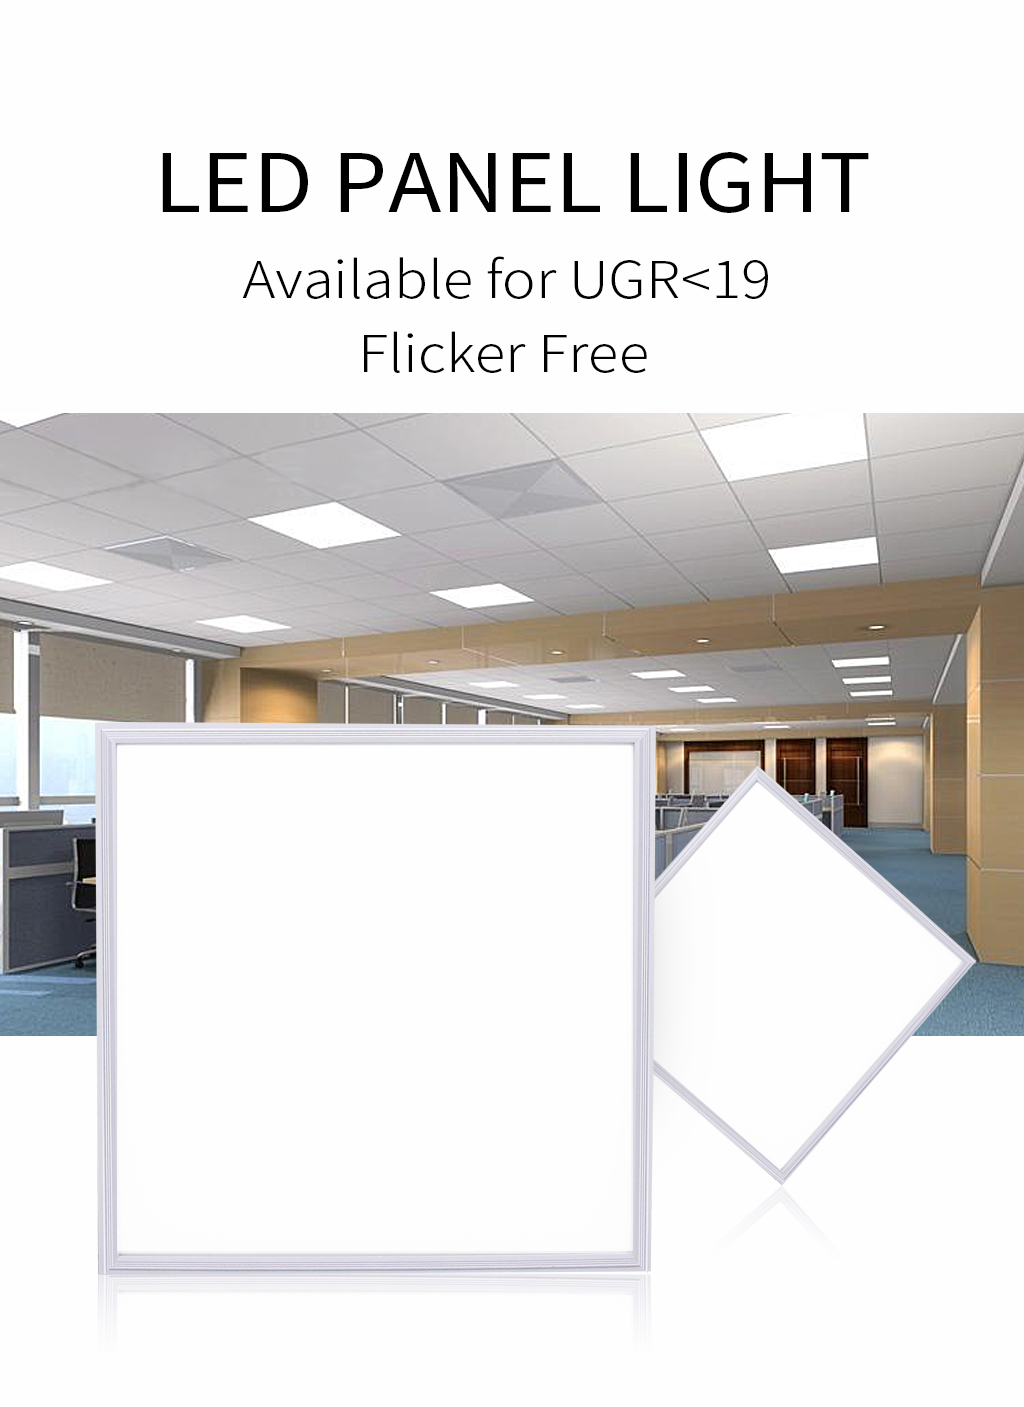
Product Features● Eye protection without glaring.
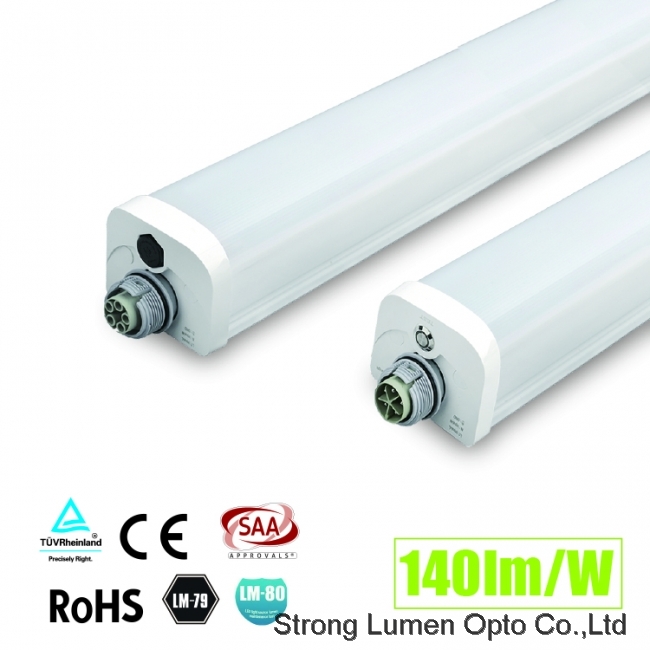
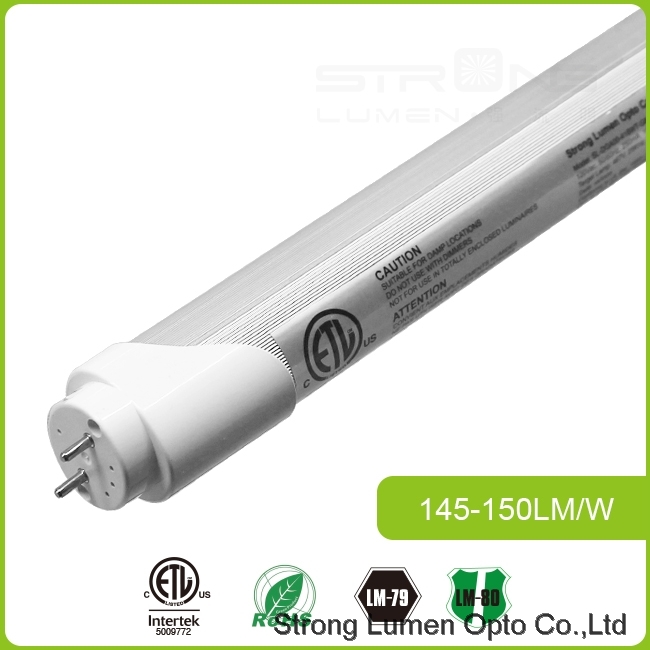
● TUV/CE certified high quality driver.
● Perfectly designed radiator.
● Suitable for all kinds of dimming control.
● A variety of installation methods (suspended, recessed, surface mounted).
● High transparant light guide plate.
● No dark areas, no white spots, no light flashes.
Photometric Data
Installation
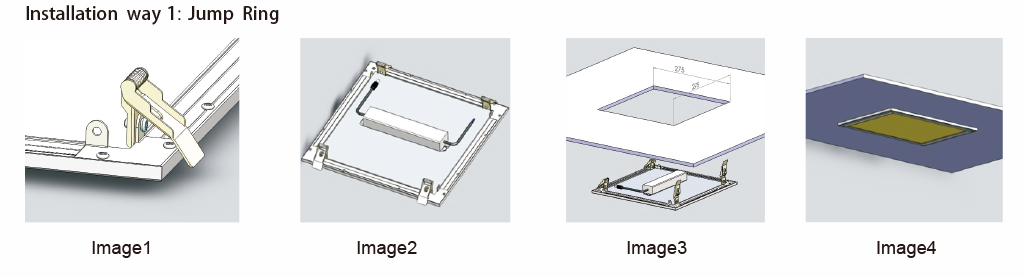
Step 1: Fasten 4 jump rings on the panel with screws and nuts;
Step 2: Connect the AC input wire of the driver to the electric supply and then connect the driver with the connector of the lamp;
Step 3: Insert the jump rings into the pre-opened hole;
Step 4: The installation is finished.
.jpg)
Step 1: Fix two ceiling angle irons on the ceiling with the expansion pipe and screws;Step 2: Connect the AC input wire of the driver to the electric supply and then connect the driver with the connector of the lamp;
Step 3: Fix the lamp on the ceiling angle iron with screws and nuts;
Step 4: The installation is finished.
Step 1: Lay the frame flat;
Step 2: Place the lamp flat in the frame;
Step 3: Use the original fine wire of the ceiling to pass through the corner holes of the lamp to fix the lamp;
Step 4: Connect the AC input wire of the driver to the electric supply, and then the installation is finished.
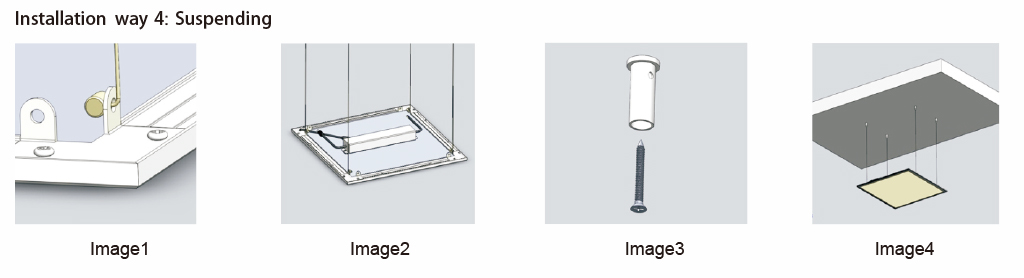
Step 1:Insert the steel wire rope into the corner hole of the lamp;
Step 2: Fix the 4 steel wire fasteners on the ceiling, thread the steel wire rope into them, and adjust the height;
Step 3: Install the underneath components;
Step 4: The installation is finished.

Step 1: This installation way must be equipped with a corner brace connection with a reverse function;
Step 2: Connect the AC input wire of the driver to the electric supply;
Step 3: Insert the curved part of the lamp into the keel;
Step 4: The installation is finished.
Packag
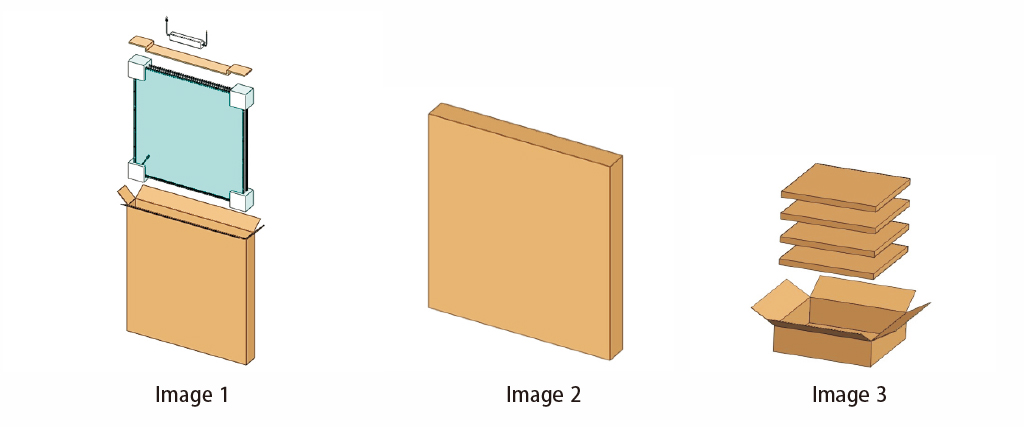
Inner Carton Outer Carton Quantity Single N.W. Net Weight Gross Weight Container Quantity 20′ 40′ 40′ HQ L625*W36*H665 MM L680*W197*H635MM 5PCS 3.5KG 18.5KG 19KG 1200PCS 2550PCS 3400PCS Case
You May Like

- Exhibitor
- Gold Supplier
- Trade Assurance
Business Type : Manufacturer
Company Location: GUANG DONG
Year Established: 15YRS


